If you keep seeing the name Push Yourdesigncom and you are still not sure what it really does or how it can help you, you are not alone. Many people hear about new design platforms but feel confused about what is actually different and whether it is worth learning yet another tool. This guide is written for you if you want clear, simple English, real-world examples, and practical advice instead of buzzwords. By the time you reach the end, you should have a solid understanding of what Push Yourdesigncom is, who it is for, and how you can use it to make your design and branding work faster, easier, and more professional.
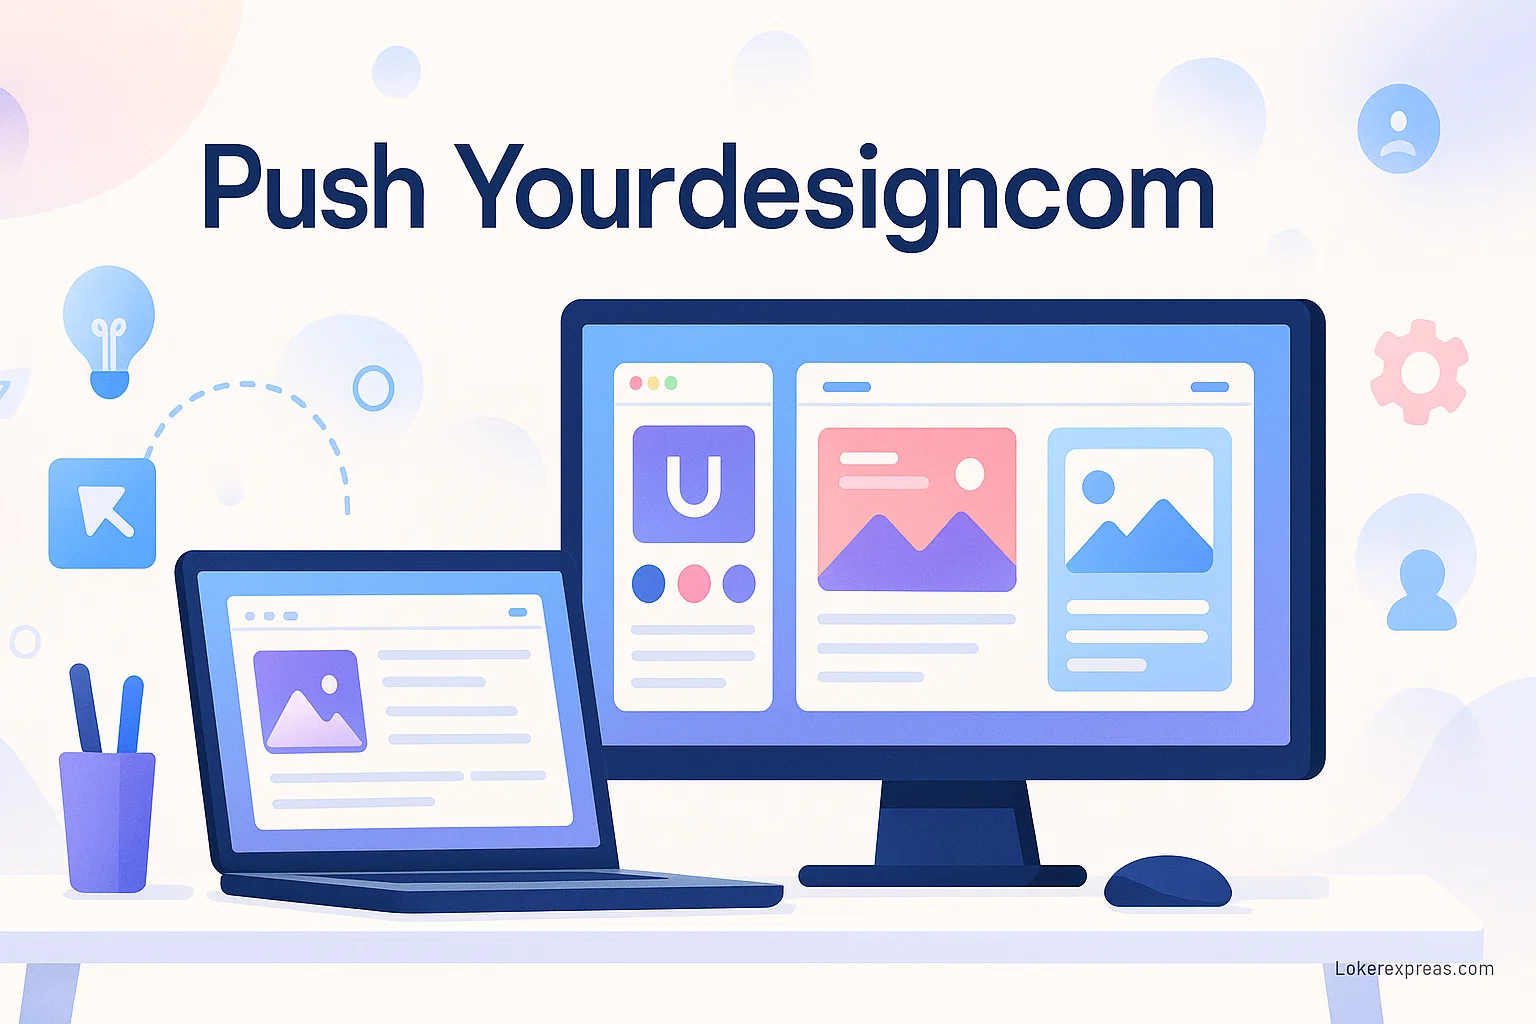
At its heart, Push Yourdesigncom is built around one simple idea: you should not have to jump between ten different apps to plan a project, design visuals, share drafts, and get feedback. Instead of giving you only a blank canvas, it brings together templates, assets, AI help, collaboration, and project organization in one place. That is what makes it interesting if you handle any kind of visual work, whether that is social media posts, brand design, web and app interfaces, or even visual concepts for real-world spaces.
What Is Push Yourdesigncom?
The easiest way to understand Push Yourdesigncom is to think of it as a creative ecosystem instead of a single design tool. A single design tool usually focuses on one job, such as drawing, photo editing, or slide design. Push Yourdesigncom tries to cover the whole journey: planning, designing, organizing, and sharing. You can create a project, collect all your references and brand assets, choose templates from its library, customize them, and keep every version in one organized space.
Inside the platform, you normally see a mix of ready-made templates, reusable elements, and tools that help you shape them into something that matches your brand. The templates give you strong structure from the start, so you do not feel stuck looking at an empty screen. At the same time, you are free to change layouts, colors, fonts, and images so your final design looks like your work, not just a generic template anybody could download. The goal is to give you speed and flexibility at the same time.
Another important part of Push Yourdesigncom is the connection it creates between visuals and the bigger picture of your brand. Instead of designing isolated posts or slides, you can see how your logo, typography, color palette, and layouts work together across different formats. That makes it easier to build a consistent identity that people recognize and trust.
Who Is Push Yourdesigncom For?
Before you invest time in any platform, you want to know if it matches your situation. Push Yourdesigncom is designed for different types of users, but they all have one thing in common: they need to create visual content regularly and they care about staying organized and on brand.
You will generally see four groups benefit the most:
- Freelance designers and creative professionals who handle multiple clients and need one place to manage assets and feedback
- Marketing teams and agencies that produce a constant flow of campaigns, social posts, and presentations
- Small businesses and solo entrepreneurs who cannot hire a full-time designer for every small job but still want professional visuals
- Interior designers and space-focused brands that need visual concepts for rooms, stores, offices, or events alongside their digital identity
If you recognize yourself in any of these descriptions, there is a good chance Push Yourdesigncom can reduce your stress. Instead of constantly hunting for the “latest logo” file or redesigning layouts from scratch, you can build a repeatable system that supports you as your work grows.
Core Features and Tools That Make Up Push Yourdesigncom
Now that you know who the platform is for, it helps to walk through the main parts you will actually use when you log in. You can think of Push Yourdesigncom as a set of pillars that work together: the asset library, the design workspace, AI assistance, collaboration, and brand and project organization. Each one solves a different problem in your daily work.
The asset library is usually the first thing people notice. Instead of starting from zero, you have a large collection of templates and design elements ready to adapt. These can include brand kits, social media layouts, presentation slides, icons, illustrations, and sometimes even layout ideas for spatial design. You search and filter based on purpose or style, save the items that fit your project, and then adjust them in the editor.
The design workspace is where you actually build and refine your visuals. You can drop in text, images, illustrations, and shapes, and arrange them in layers. The editing tools focus on helping you align objects, adjust spacing, create visual hierarchy, and keep everything clean. The aim is not to overwhelm you with technical options, but to give you enough control to make something polished without getting lost in menus.
On top of that, AI-assisted features help you move faster and explore options you might not think of yourself. For example, you can get suggestions for color palettes that match your base colors, recommendations for font pairs that look good together, or layout variations that change the balance between text and visuals while keeping the core structure. This does not replace your taste or your knowledge of your audience, but it saves you from the slow, manual trial-and-error process of checking every single combination yourself.
The collaboration layer lets you invite others into your projects. Instead of sending files back and forth, you can share a link, and people with permission can view, comment, or even edit, depending on the role you give them. Comments usually appear directly on specific parts of the design, which makes feedback much clearer than vague messages like “change the thing on the left of page three.”
Finally, brand and project organization keeps everything under control. You can create brand libraries that store your official logos, colors, fonts, and approved images. When you or your team start a new design, you pull from that library instead of digging through old folders. Projects can group all related assets, drafts, and final exports for a campaign or client, which keeps you from losing track of what belongs where.
How Push Yourdesigncom Fits Into a Real Project Workflow
Reading about features is useful, but it becomes much more meaningful when you see how they fit into real work. Imagine you want to create a small campaign for a new product or service: social media graphics, a simple landing page layout, and a short slide deck to present it. You could use Push Yourdesigncom in a clear sequence like this:
- You create a new project for the campaign and define a simple goal, such as “Announce the new product and drive people to the sign-up page.”
- Inside that project, you save your brand assets, such as logo files, color codes, and any reference images that show the mood or style you want.
- You search the template library for social posts, landing page sections, and presentation layouts that match your general style, and you add the best ones to your project.
- You customize each template with your own text, images, and colors, then share the project with your team or client to get comments and sign-off.
This kind of flow shows the real strength of an all-in-one platform. You do not open a separate place for ideas, another for design, another for feedback, and another for file storage. Everything for that campaign lives together, and later on, when you revisit the project, you can see exactly how it developed from first draft to final design.
Over time, you start to build your own reusable system inside Push Yourdesigncom. You learn which templates and layouts work best for your audience, you refine your brand library, and you adjust your process so that each new project takes less effort and produces more consistent results.
Building a Strong Brand With Push Yourdesigncom
One of the most powerful uses of Push Yourdesigncom is brand building. A strong brand is not just a logo; it is a complete visual language that repeats across every touchpoint, from social media and websites to printed materials and even your physical space. The platform makes it easier to build and maintain this language over time.
You can start by defining your core elements: logo, color palette, typography, and key imagery. Push Yourdesigncom lets you store these in a brand library that works like your visual “source of truth.” When you or anyone on your team designs something new, you can grab the official elements instead of guessing or using outdated files. This builds trust with your audience because everything they see from you feels like it belongs to the same story.
From there, you can develop complete brand kits inside the platform. For example, you can create standard layouts for social posts, product announcements, testimonials, newsletters, and internal documents. Each layout keeps the same core structure but allows flexibility in content. When you apply this system to multiple channels, it becomes much easier for people to recognize your brand even if they are only quickly scrolling through a feed.
Push Yourdesigncom also helps you test small changes without breaking your brand. You might try a slightly different color accent, a new image style, or a different way of presenting headlines, but because everything still runs through your shared brand rules, you keep control over how far you move from your core look.
Using Push Yourdesigncom for Marketing and Content Creation
Marketing teams and content creators often feel constant pressure: there is always another campaign to launch, another post to publish, and another presentation to prepare. Push Yourdesigncom is designed to relieve this pressure by giving you structure and speed without sacrificing quality.
When you plan a campaign, you can treat the platform as your central workspace. You define the different pieces you need, such as posts, stories, banners, and slides, then you choose or create templates for each format. Because you can see all of them in one project, you can keep a consistent story across channels. The color and layout of your social post, for example, can match the hero section of your landing page and the first two slides of your pitch deck.
You can also use the AI features to explore different versions of a concept. If you have a headline, an image, and a call to action, but you are not sure what layout feels strongest, you can let the tool suggest variations, then pick and refine your favorite. This is especially helpful when you have very little time but you still want to compare more than one option.
Another advantage is the built-in collaboration. Marketing is rarely a solo activity. You may need input from product managers, sales teams, or external partners. Instead of sending them static images or PDFs, you invite them into Push Yourdesigncom, where they can comment on specific parts of each asset. This can speed up approvals and reduce the kind of confusion that happens when different people are looking at different versions of a file.
Push Yourdesigncom vs Traditional Design Tools
Many people wonder whether they should replace their existing design software with Push Yourdesigncom or use it alongside what they already know. The answer depends on your needs. Traditional tools often offer deep control and advanced features for very specific tasks, while Push Yourdesigncom focuses on the whole process from brief to final asset.
Here is a simple comparison to help you see the difference:
| Area | Push Yourdesigncom | Traditional Design Tools |
|---|---|---|
| Main focus | All-in-one design, assets, and collaboration | Specific tasks like drawing or photo editing |
| Getting started | Template-based, guided, quick for non-experts | Often steeper learning curve |
| Brand consistency | Central brand libraries and shared templates | Managed manually through separate files |
| Collaboration | Built-in comments and shared projects | Usually external via email or messaging apps |
| Project organization | Projects contain all assets and versions | Users must organize folders and file names |
In many cases, the best approach is to treat Push Yourdesigncom as a hub and use specialist software when you need very specific control. For example, you might edit a complex photo in a dedicated photo editor, then place the final image into a Push Yourdesigncom layout that handles the rest of the campaign visuals and collaboration.
Best Practices and Common Mistakes to Avoid
To get real value from Push Yourdesigncom, it helps to follow a few simple best practices and avoid some common traps. These are based on patterns that appear again and again when people start working with any all-in-one design platform.
A few helpful habits include:
- Build your brand library early instead of waiting until you “have time later,” because every new asset you create will benefit from clear rules.
- Limit yourself to a small number of core templates for each type of content so your brand looks consistent and your workflows stay simple.
- Use AI suggestions to explore options, but always apply your own judgment about what fits your audience and message.
On the other side, one of the biggest mistakes is overusing templates without enough customization. When you rely too heavily on default styles, your brand can start to feel generic. Simple changes in imagery, tone, and layout can make a huge difference in how personal and unique your visuals feel. Another mistake is skipping feedback or taking feedback only from people who are too similar to you. Before you roll out a big new look, it can be useful to show it to a few customers or colleagues who represent your real audience and ask what they understand at first glance.
A final mistake is treating the platform as a one-time experiment instead of integrating it into your daily workflow. The real power of any system comes from consistency. The more you use Push Yourdesigncom to manage projects, organize assets, and build templates, the more time you save and the less mental load you carry.
Is Push Yourdesigncom the Right Choice for You?
No tool is perfect for everyone, so it is helpful to step back and look at your own situation. Push Yourdesigncom tends to work best if you create visual content regularly, you care about brand consistency, and you either collaborate with others or plan to in the future. It is especially strong if you manage multiple projects at once and need one place where you can clearly see what is happening with each one.
If you only create a design once in a long while and you are comfortable working with simple, single-purpose tools, you might not feel the full benefit of an all-in-one platform. On the other hand, if you constantly feel like your files, assets, and feedback are scattered everywhere, or if your brand looks different from channel to channel, an ecosystem like Push Yourdesigncom can be exactly what you need to bring order and quality to your process.
The decision does not have to be all or nothing. You can start by using Push Yourdesigncom for one client, one campaign, or one internal project, and keep everything else as it is. If you notice that it saves you time, reduces confusion, and leads to better results, then you can expand its role in your workflow step by step.
Read More: 6 Interior Design Tricks to Balance Tradition and Modernity
Conclusion: Your Next Step With Push Yourdesigncom
Push Yourdesigncom brings together templates, assets, AI help, collaboration, and organization into a single creative environment. For you as a designer, marketer, business owner, or interior professional, that means less time juggling tools and more time focusing on the actual ideas and messages you want to share. Instead of starting every new project from scratch, you can build reusable structures that grow with your brand and your business.
To move from theory to action, choose one real project—a small campaign, a brand refresh, or a visual concept for a space—and set it up inside Push Yourdesigncom. Create a simple brand library, pick a few templates, customize them thoughtfully, and invite one or two people to give feedback directly in the project. This small experiment will show you much more than any list of features or marketing claims.
If the process feels smoother, if your designs look more consistent, and if your team or clients find it easier to collaborate, then you will know you are on the right track. From there, you can gradually let Push Yourdesigncom become the place where your ideas turn into clear, confident visuals that your audience can recognize and trust.
Disclaimer:
This article is an informational guide based on publicly available online resources and general design-industry experience. It is not official documentation of Push Yourdesigncom, nor is it affiliated with the platform’s owners. Features, pricing, and availability may change over time, so readers should always verify details on the official Push Yourdesigncom website or through its official support channels before making any decisions.